Building Your First App
Building Your First App:
First download on your computer Android Studio and installed.
To create a project in Android Studio:
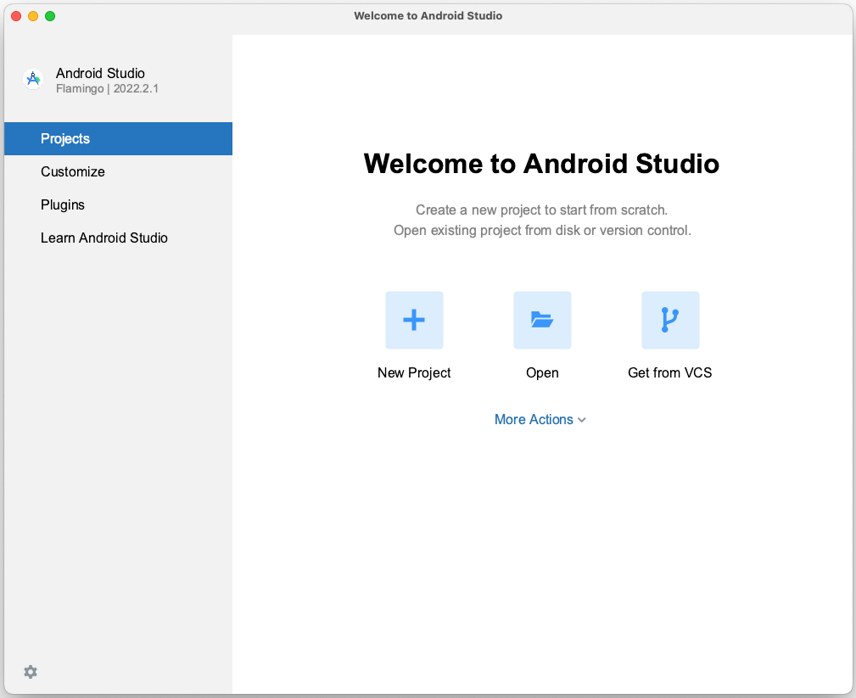
- Double click the Android Studio icon to launch Android Studio.
- In the Welcome to Android Studio dialog, click New Project.
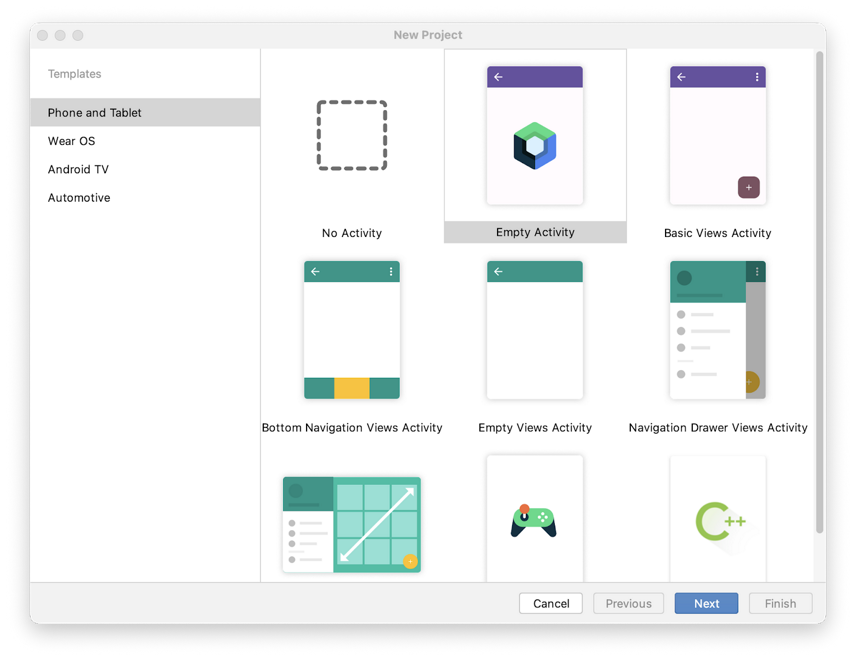
- The New Project window opens with a list of templates provided by Android Studio.
- Make sure the Phone and Tablet tab is selected.
- Click the Empty Activity template to select it as the template for your project. The Empty Activity template is the template to create a simple project that you can use to build a Compose app. It has a single screen and displays the text "Hello Android!".
- Click Next. The New Project dialog opens. This has some fields to configure your project.
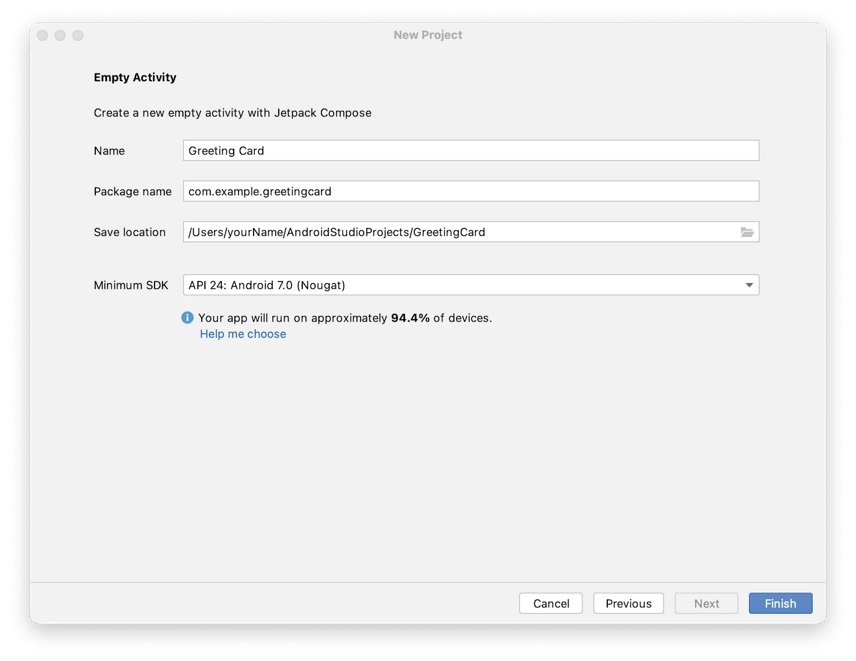
- Configure your project as follows:


In Android Studio, a project template is an Android project that provides the blueprint for a certain type of app. Templates create the structure of the project and the files needed for Android Studio to build your project. The template that you choose provides starter code to get you going faster.
The Name field is used to enter the name of your project, for this codelab type "Greeting Card".
Leave the Package name field as is. This is how your files will be organized in the file structure. In this case, the package name will be com.example.greetingcard.
Leave the Save location field as is. It contains the location where all the files related to your project are saved. Take a note of where that is on your computer so that you can find your files.
Select API 24: Android 7.0 (Nougat) from the menu in the Minimum SDK field. Minimum SDK indicates the minimum version of Android that your app can run on.

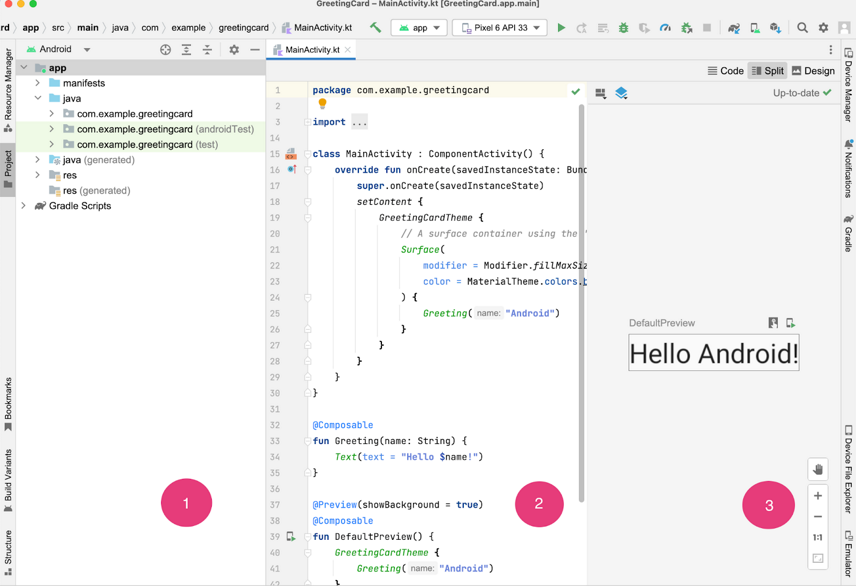
7. Click Finish. This may take a while - this is a great time to get a cup of tea! While Android Studio is setting up, a progress bar and message indicates whether Android Studio is still setting up your project. It may look like this:
8. After click finish will open like this
